Camping has been a part of my life for as long as I can remember. From deserts to mountains, beaches to backyards, I’ve slept in tents, cabins, trailers—even barns. Over the years, I’ve learned a lot about setting up a campsite that’s comfortable, safe, and fun.
One of my most recent trips was to Newport, Oregon. My parents had a private camping resort membership that I was able to use, so I invited my children and their families. When I arrived early to set up, the campsite looked smaller than I expected. There was barely enough room for three tents and a covered dining area. I paced out the spaces, removed rocks, branches, and even a few dog piles, and quickly set up my tent.
As I worked, my wife was delayed by a call from our daughter and her boyfriend—they had car trouble two hours away. Once my wife arrived, she helped unpack, and we got the other daughter’s pop-up tent set up as well. Even though space was tight, and rain started falling, we stayed warm under three tarps and a covered awning we brought for shelter.
Camping is about flexibility and preparation, and having a plan for your campsite setup makes everything easier. Here’s how I usually approach it:
The first thing I do is figure out where to place the tent. The spot should be:
Large enough for your tent.
Level or easily made level.
Free of big rocks, sticks, and roots.
You can lay the tent out to check the fit, pace it out if you know your stride, or use a tape measure or even your tent bag to gauge space. If the ground isn’t perfectly level, place your sleeping area on the flattest spot and fill low areas with dirt or brush. Bring a small camp shovel if you’re allowed to adjust the terrain a bit.
Tip: Keep your tent at least 12 feet away from the campfire for safety.
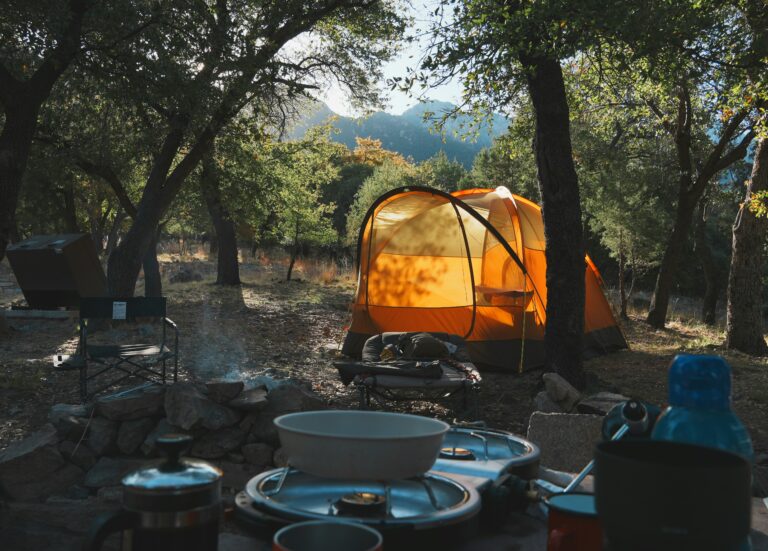
A covered awning or pop-up shelter can make a huge difference, especially on rainy days like my Oregon trip. I placed ours along the road next to the campsite. It kept us dry while cooking, playing games, or just hanging out. Make sure any cooking areas stay well-ventilated even if the awning has walls.
Affiliate Placeholder: Consider a [reliable pop-up camping awning] for weather protection.
Set up your stove on a stable surface. If you have kids around, secure it with stakes or weights to prevent tipping. Collapsible tables work great for prep and meals. Once the stove and prep area are set, plan your dining spot nearby—camp chairs, picnic tables, or around the campfire all work.
Affiliate Placeholder: Check out [portable camp stoves] or [folding camping tables] for easy setup.
After the essentials are in place, think about where people will relax. Chairs, hammocks, and seating areas make a big difference. On our trip, the awning became the central hangout spot, protected from wind and rain.
Affiliate Placeholder: Try [compact camping chairs] or [camp hammocks] for maximum comfort.
Level and stake your tent well.
Use tarps to protect against heavy rain.
Keep your fire pit safe and never use unstable rocks.
Arrange your campsite so you can see the whole camp when you step outside your tent.
Camping is flexible—no two sites are the same. Planning ahead and keeping a few essential tools on hand makes setup smooth and fun.
With a little preparation, even a small, rainy campsite can feel comfortable and welcoming. Whether you’re camping with family, friends, or solo, mastering the basics of camp setup ensures everyone has a good time—and lets you enjoy the outdoors like a boss.