Re

Tent Setup for Beginners, Easy tips for ground prep and different types.

Pitching a tent doesn’t have to be a struggle. With the right steps (and a little patience), you can have your home-away-from-home standing tall in no time. In this guide, I’ll walk you through how to prep your campsite, set up your tent, and choose the right type of tent for your adventures.

Step 1: Pick the Right Spot

Before you even open the bag, spend a couple of minutes scouting.


  • Look for flat, level ground — you don’t want to roll into a corner overnight. 


  • Avoid low spots that could collect water if it rains.


  • Stay clear of roots, rocks, or sharp sticks.


  • If possible, pick a spot with a little morning shade so you’re not roasting at sunrise.


👉 Pro Tip: Do a quick “lay down test.” If it’s comfortable to stretch out on, it’s good for your tent. Also, other campers may have left a ground imprint, which could help you identify the best spot. 

Step 2: Clear and Prep the Ground

  • Remove small rocks, pinecones, or sticks.


  • Lay down a footprint (ground tarp) which is slightly smaller than your tent floor. This protects your tent from moisture and abrasion.


  • If you don’t have a footprint, a trimmed tarp works fine — just keep edges tucked under so rain doesn’t pool.

Step 3: Unpack and Organize Your Tent

Spread everything out before you start:


  • Tent body


  • Rainfly


  • Poles


  • Stakes/pegs


  • Guy lines (ropes)

  •  

This way you’re not searching for pieces mid-setup.

Step 4: Assemble Tent Poles

Most modern tents use shock-corded poles that snap together easily.


  • Lay them flat, then connect the sections.


  • Place them across your tent body as shown in the instructions.


👉 Don’t force them — if something doesn’t fit, recheck the pole order.

Step 5: Raise the Tent


  • Slide poles through the sleeves or clip them into place.


  • Most tent designs use poles that form an arch — either across the top or out toward the “wings.” Follow each sleeve all the way through to the other side.


  • Connect each pole section as you go, gently pushing it forward. Watch that it doesn’t snag or pinch, and guide it through if needed. 


  • The ends of the poles usually have an anchor spot on each side of the tent. Some are sewn pockets and others are pins. Place each end accordingly. 


  • The tent will start to take shape — lift it gently upright.


  • Stake down the corners first for stability.

Step 6: Add the Rainfly

The rainfly is your tent’s umbrella.

  • Drape it over the frame.


  • Clip or tie it into place (each tent is a little different).


  • Make sure the door openings line up with your tent doors.

Step 7: Stake and Guy Out

  • Drive stakes at a 45° angle, pointing away from the tent.


  • Pull guy lines snug (but not guitar-string tight).


  • This adds stability in wind and keeps the rainfly off your tent walls (reduces condensation).

Step 8: Test for Comfort

  • Step inside, stretch out, and check for floor wrinkles (pull the fabric until smooth).


  • Shake the rainfly — if it brushes the tent body, adjust your guy lines.

Tent Types (extra help)

1. Dome Tents

  • Most common beginner style.


  • Easy to set up, stable in wind, good for 2–4 campers.


  • The instructions for Dome tents were described above. 


  • 2. Cabin Tents
  • Tall, straight walls = lots of headroom.


  • Best for car camping or families.


  • Heavier and bulkier.


  • These tents could have sleeves and hooks for construction or just hooks. most have a cross beam center. 


  • See instructions or illistrations provided by manufacturer. 


4. Pop-Up Tents

  • Open the bag → tent springs up.


  • Awesome for festivals or quick overnight trips.


  • Not as durable in bad weather.


  • Depending on their connstruction and price some of these tents are highly durable. 

5. Backpacking Tents

  • Lightweight, compact, designed for hikers.


  • Usually smaller and more expensive, but perfect when every ounce counts.

Wrapping It Up

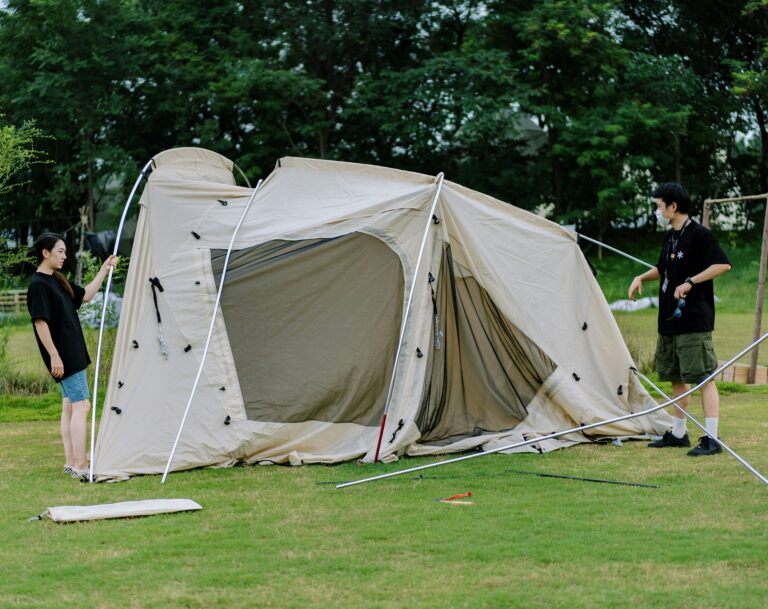
Setting up a tent is a skill that gets easier every time you practice. Start with ground prep, take your time with the poles and rainfly, and you’ll have a reliable basecamp ready in minutes. Once you know the steps, you can focus on what really matters — relaxing, cooking up something tasty, and enjoying the outdoors.

👉 If you’re a first-timer, practice pitching your tent at home before heading out. It saves time, stress, and maybe even an argument in the woods!

For additional camp set up tips see my article 15 easy camping tips every camper should know.